XJ
Gas Tank Skid Plate Install
Skid Row Part #ZJ-GTS
Writeup
by Steve Leslie
Of the four skids I installed, this was the last one to go in as it was on
backorder (clicky for the others
T-case skid plate install,
engine/tranny skid plate install,
lower control arm skid install). One
caveat is that if you do not have a hitch already in place, you'll need to
obtain nut plates from Jeep. I already had a hitch...but FYI, Jeep refers to
them as "Frame Reinforcements" and the part #'s are 52001174 and 52001175.
Also, note that there is a difference in the skids between the 1984-1996 model
years and the 1997-2001 model years. For 97's and up it is the same skid as for
a ZJ.
The pictures are kinda sparse for this writeup cause a) I was tired b) the
instructions out and out lied to me...so c) I was pissed. By the time I was
done, I HATED Jeeps. Luckily, we went wheeling the next day which quickly put
things back in perspective. 
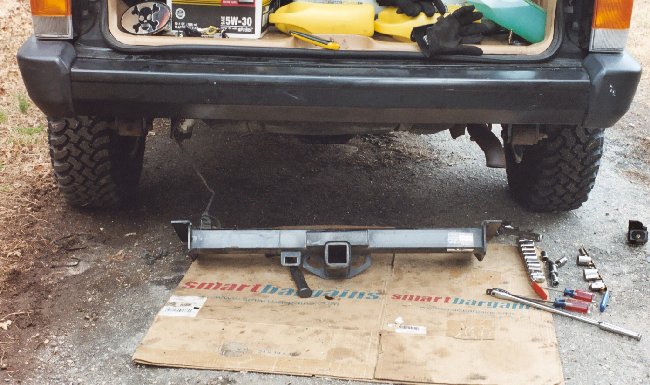
Onto the fun. I did not raise the Jeep for this...there was plenty of room to
work. The first step was to remove the hitch. Easy enough, there's 4 nuts on
each side. Two of the four on the pass side hold the exhaust/tailpipe hanger in
place. After a couple of minutes of wrenching this was the result.
So now, brace yourselves....here comes the lie. The instructions state to remove
the exhaust heat sheild (on the pass side of the gas tank), install the skid
then reinstall the heat sheild. THE LYING BASTARDS!!! There was no way to
reinstall the sheild after jacking the skid into place and the skid would not
fit with the heat sheild in place. Ask me how I know all this!

I actually spoke to someone over at Skid Row about this, so hopefully they'll
modify their instructions.
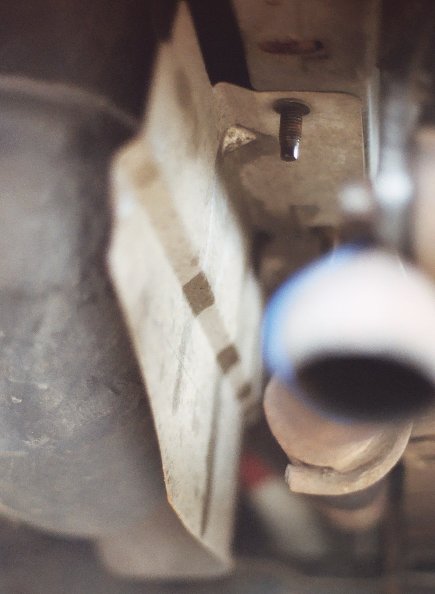
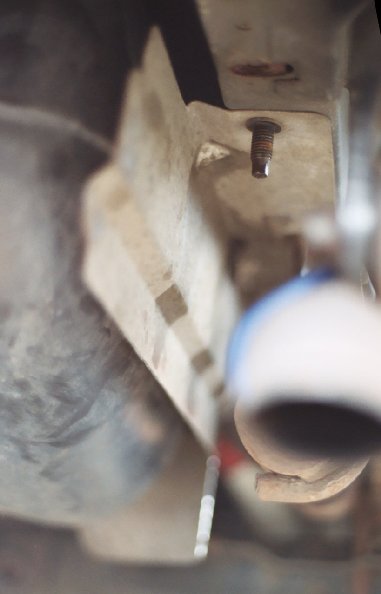
In any event, I had to cut the sheild. To do this, first I fit it to the skid
and then marked where it had to be cut with a pencil. Then I used a dremel tool
to cut the sheild along the marked line. Here's some before and after pics.
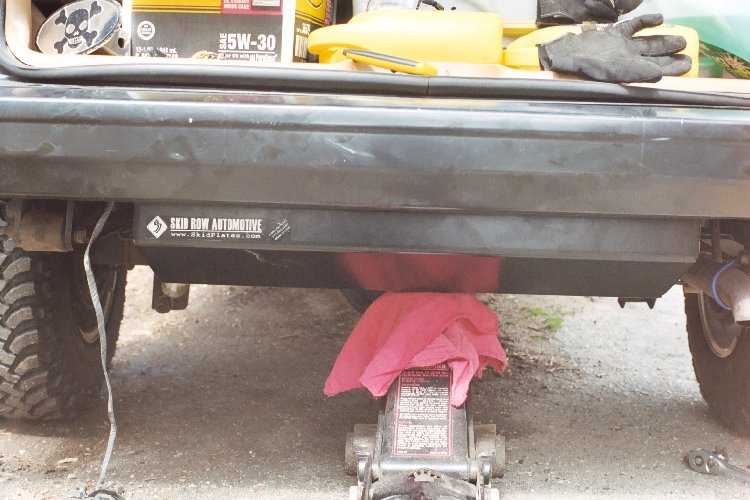
Then I jacked the skid up into place...again.
Next, it was time to re-install the hitch receiver. This is not as easy as it
sounds. The clearences are pretty tight between the hitch and the skid and it
took some jostling to get them bolt up together correctly (needless to say, by
this point, I was already pretty pissed off...and this was not helping). After a
lot of shifting, banging and cursing I finally managed to get them fitted
together and bolted up into place.

The skid did not look that pretty for long as the next day we went wheeling...it
got a pretty good christening.